
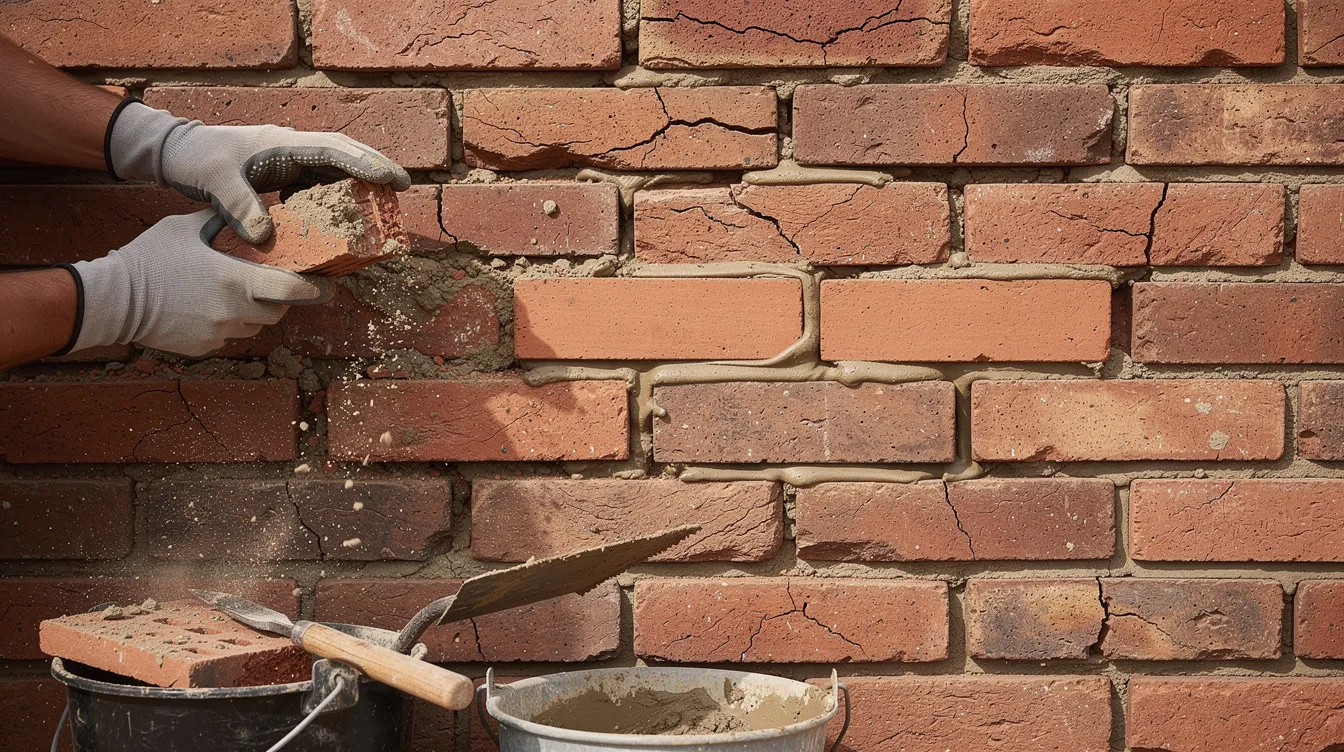
A single hairline crack in your brick wall might not seem urgent, but left alone, it becomes a highway for water, air, and freeze-thaw damage. Brick patching is the most practical way to stop small problems before they spiral into full-scale masonry failure. This guide covers the causes of brick deterioration, how to choose the right materials, and when you should handle the repair yourself versus calling a professional.
Key Takeaways
Brick patching restores damaged brick walls, seals mortar joints against water intrusion, and prevents future damage from freeze-thaw cycles and moisture exposure.
Choosing the right mortar – Type N for general exterior work, Type S for load-bearing walls, or lime-rich mixes for older homes – is essential for a durable, compatible repair.
Hairline cracks can often be patched DIY with brick mortar or a compatible sealant, while deep or stair-step cracks usually require professional evaluation for structural stability.
Proper surface prep, color matching, and controlled curing are what make patches blend in visually and hold up structurally for decades.
Ignoring small cracks and spalling bricks leads to more extensive, expensive repairs later on.
What Is Brick Patching and When Do You Need It?
Brick patching is the process of repairing localized damage on bricks, mortar joints, or small masonry sections rather than tearing down and rebuilding entire walls. It involves using specialized mortar or repair paste to restore both the appearance and structural integrity of existing brickwork. Patching is a cost-effective option compared to replacing entire bricks, and effective brick patching requires matching surrounding masonry in composition and appearance.
Common scenarios where you need it include:
A 1980s house with weathered mortar joints that have recessed more than ¼ inch from the brick face.
A brick chimney from the 1940s with crumbling mortar and flaking brick faces.
Front steps or a window sill with chipped corners.
Isolated brick cracks on a garden wall or porch column that let in rain and wind.
Brick patching differs from full repointing or wall replacement because it targets specific problem areas – a few joints, one or two bricks, a small section of spalling – instead of reworking an entire building elevation.
Common Types of Brick Damage Brick Patching Can Fix
Not all brick damage is the same, and effective patching starts with identifying the specific type of deterioration.
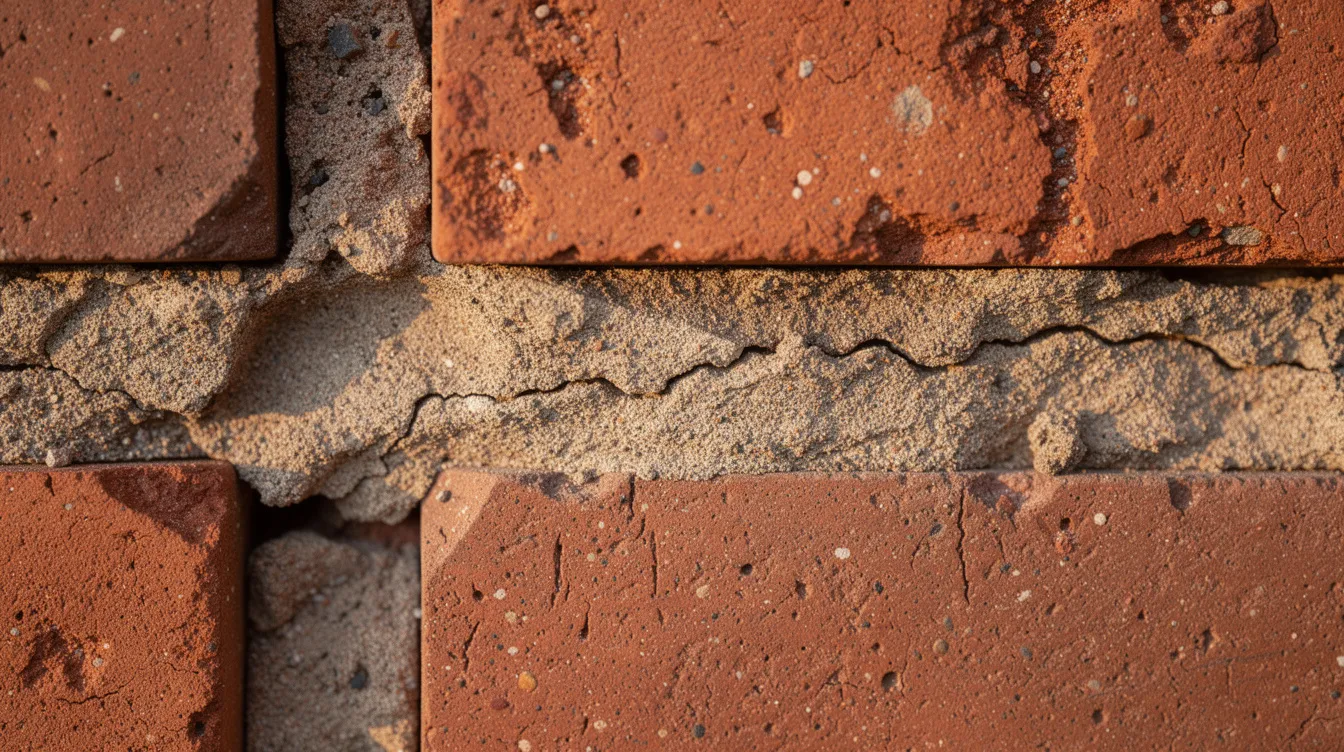
Hairline cracks: Thin cracks (under ⅛ inch) that run along mortar joints or across individual bricks. They look cosmetic at first, but hairline cracks can let in water and air, weakening structures over several seasons.
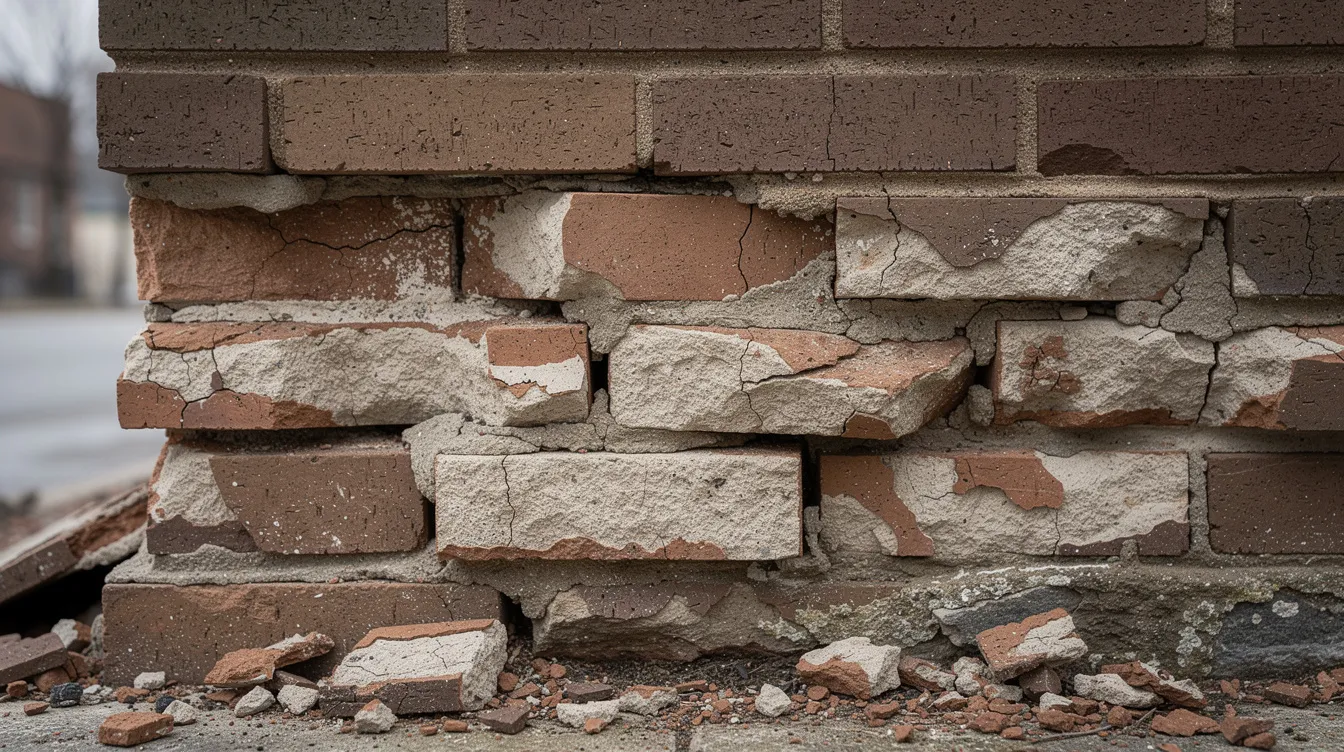
Spalling bricks: Brick faces flake or pop off, usually caused by trapped moisture and repeated freeze-thaw cycles. North-facing and ground-level walls are especially prone to this.
Crumbling or recessed mortar joints: Old mortar has worn back ¼ inch or more, weakening the brick and mortar bond. Repointing mortar is used to restore these eroded mortar joints.
Chipped or broken corners: Common on steps, window sills, and porch columns. Small chips can be rebuilt with a brick patching mix instead of full brick replacement.
Signs of structural damage: Wide horizontal cracks, diagonal stair-step cracks across multiple courses, or separation from window frames. Brick replacement is necessary for badly damaged bricks rather than patching, and these patterns often point to foundation cracks or ongoing foundation settlement that need professional evaluation first.
What Causes Cracks and Deterioration in Brick Walls?
If you patch without addressing root causes, new mortar repairs can crack again if walls shift or freeze-thaw cycles continue. Here are the primary drivers:
Freeze-thaw cycles: Water seeps into porous brick and mortar, then expands roughly 9% when it freezes, generating internal stress that widens cracks over successive winters. Freeze-thaw cycles can loosen brick and mortar joints surprisingly fast – studies show severe deterioration in as few as 25 cycles.
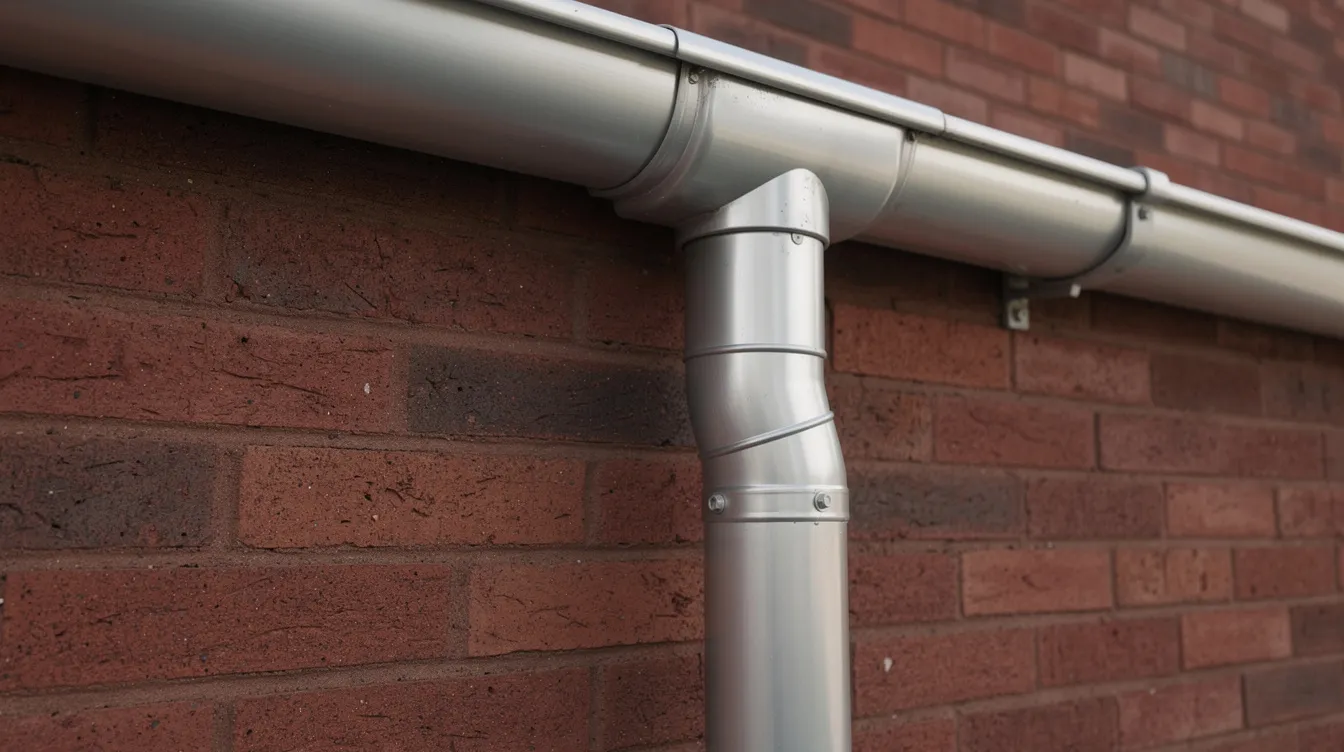
Poor drainage: Clogged gutters, missing downspout extensions, and negative grading keep lower brick walls saturated. Poor drainage leads to moisture saturation in brick and mortar, accelerating spalling and crumbling mortar at the base of your house.
Weathering from sun, wind, and rain: UV exposure dries out mortar, erodes sand from the binding matrix, and gradually roughens brick faces over decades of exposure.
Structural movement: Soil changes and foundation settlement – especially in clay soils that swell and shrink – cause stress and cracks in brick walls. Stair-step patterns are a classic sign of ongoing movement.
Construction and repair errors: Incompatible mortar mixes can lead to premature cracking in bricks, and poor installation techniques result in weak mortar joints. Using cement-heavy mortar on softer historic brick is a common mistake that causes the brick itself to fail before the joint does.
Choosing the Right Mortar and Patch Materials
The right mortar is just as important as good workmanship. Patching materials must not be stronger or more rigid than the original brick, or you risk cracking the very masonry you are trying to fix.
Match new brick mortar to existing in three ways: strength, composition, and appearance. Here is how common mortar types classified under ASTM C270 compare:
Mortar Type | Compressive Strength | Best Use |
|---|---|---|
Type N (~1:1:6 cement:lime:sand) | ≥ 750 psi | General exterior brick repairs, chimneys |
Type S (~1:½:4½) | ≥ 1,800 psi | Load-bearing or ground-contact walls |
Type O (~1:2:9) | ≥ 350 psi | Interior repairs on older bricks, softer masonry |
Lime-rich / Type K | Very low | Historic restorations needing flexible, breathable mortar |
Type N mortar is ideal for exterior brick repairs and most residential projects. Type S mortar offers high compressive strength for load-bearing repairs like retaining walls. Type O mortar is suitable for interior repairs on older bricks where a softer mix prevents damage. Lime-rich mortar is flexible and ideal for historic restorations on pre–World War II masonry.
Sand selection influences the strength and final color of the patch, and mortar mixes can be customized with mineral-based pigments for matching colors. Patch materials should be tested for color and shrinkage before wide application. For hairline cracks, polyurethane caulk is a quick fix, while an epoxy-sand mix provides the strongest repair. Polymer-modified patching compounds work well for rebuilding missing brick faces and corners. When dealing with loose bricks, full mortar repair is needed rather than flexible sealants.
Always match new mortar to old mortar in composition and compatibility, not just color. Harder is not better.
Step-by-Step Brick Patching Process
Most brick patching follows a consistent sequence: assess, prepare, repair, and cure.
Assess the damage. Determine whether the problem is limited to surface brick and mortar or suggests deeper structural movement. If cracks are wider than about ¼ inch or run in long stair-step patterns, stop and call a professional before proceeding.
Prepare the area. Remove loose material and debris from the repair area before patching. Remove old mortar before applying new mortar for best results. Mortar patching requires grinding the crack open first to create clean shoulders for bonding. Use a grout saw for small joints and a cold chisel for larger ones. Clean out remaining dust with a wire brush and spray with water.
Pre-wet the surface. Dampen the brick before applying mortar to prevent rapid moisture loss. Pre-wet the work area before applying a patch to avoid the existing masonry pulling water from your new mortar too quickly.
Mix and tint your mortar. Prepare the right mortar or patching compound to manufacturer specs. Use the correct water ratio for workability without weakening the mix. Color matching is crucial to ensure the patch blends well with the existing brick – a well-matched patch can make minor damage nearly invisible.
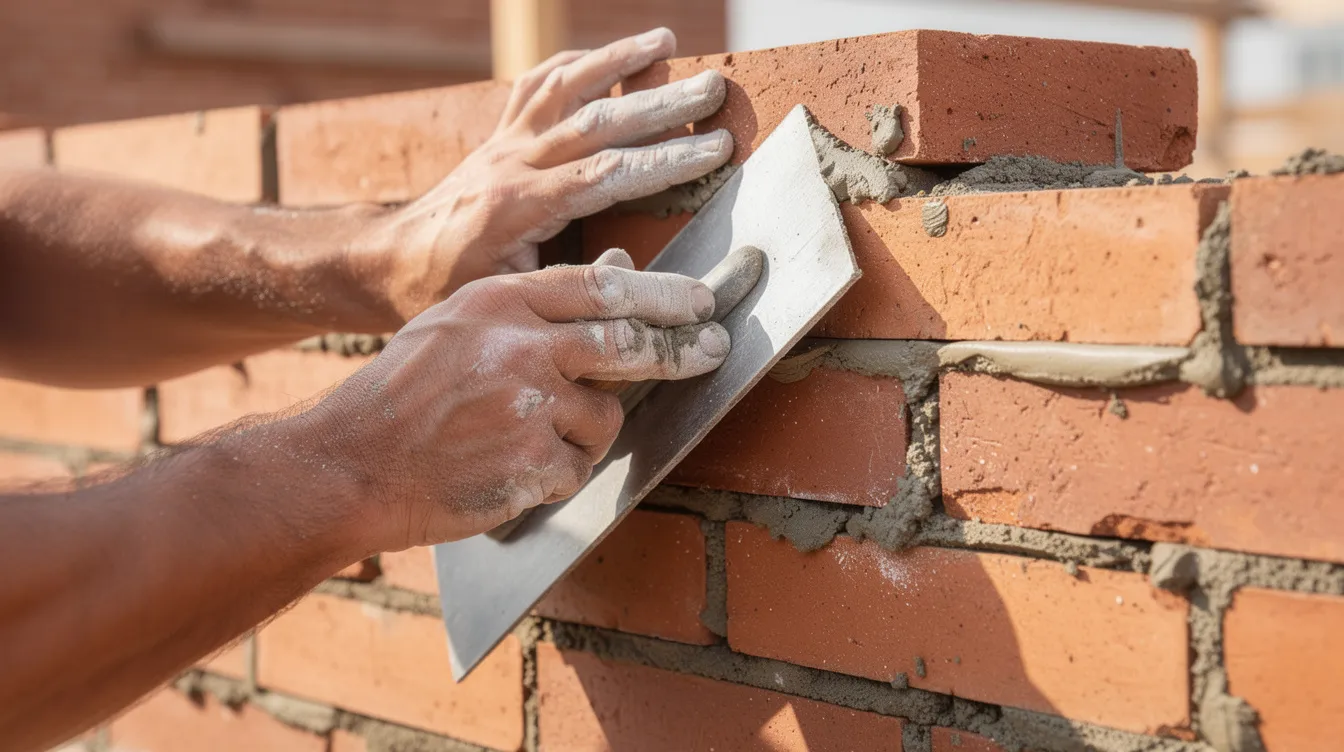
Apply the patch. Pack new mortar firmly into mortar joints using a trowel, working from the back of the joint to the face. Shape the joint profile to match the rest of the wall (concave, V-shaped, or weathered). For rebuilding small brick faces or corners, apply in thin layers to avoid sagging.
Cure properly. Controlled curing conditions are important for effective patching techniques. Proper curing prevents patches from shrinking or cracking as they harden. Cure new mortar by misting it with water for three days. Protect patches from direct sun, high wind, and freezing temperatures for at least the first week.
DIY Brick Patching vs. Hiring a Professional
Brick patching can be a manageable DIY project for small cosmetic repairs, but larger or structural issues usually justify a professional mason.
DIY-appropriate scenarios for homeowners:
Isolated hairline cracks in a brick wall
Short sections of recessed mortar joints on a garden wall or steps
Non-structural chips on low-height brickwork where stakes are low
When to hire a pro:
Working at height on chimneys or second-story brick walls
Extensive spalling across multiple courses
Damage linked to foundation movement or structural stability concerns
Older homes with historic lime-based mortars that require precise material matching
To find a mason, ask friends and family for referrals, or use websites like Thumbtack to locate local professionals. Interview at least two to three masons before hiring, and request a detailed estimate – it is essential for comparing scope and pricing. Quotes for masonry work can range from $800 to $2,200 depending on the location and extent of the job. Masons should match the color of existing bricks and mortar joints, not just fill in gaps with generic gray cement.
Preventing Future Damage After Brick Patching
Good brick patching is only half the job. Controlling water, movement, and materials is key to preventing repeat failures.
Improve drainage: Clean gutters at least twice a year, extend downspouts 4–6 feet from the foundation, and regrade soil so it slopes away from brick walls.
Apply breathable sealers: Where appropriate, seal vulnerable brick and mortar surfaces with a breathable masonry sealer so moisture vapor can still escape while rain is blocked. Walls need to breathe – non-breathable coatings trap moisture and accelerate deterioration.
Inspect regularly: Walk the building each spring and fall. Look for new hairline cracks, efflorescence (white powder on brick faces), or damp interior spots that suggest hidden leaks.
Prepare for cold climates: Fix small cracks before winter, avoid de-icing salts directly on brick steps, and keep snow and ice from sitting against brick walls for extended periods. Inspect patches periodically for cracking or spalling after freeze-thaw cycles.
Use compatible materials for future repairs: Always select the right mortar for the existing masonry. Avoid rigid patch materials that do not expand and settle with the brick and mortar, especially on older homes. Mortar repairs can last 20–30 years when done correctly, but only if every subsequent repair follows the same direction of compatibility.
Frequently Asked Questions About Brick Patching
How long does a brick patch typically last?
Well-executed brick and mortar patches using the right mortar for the existing wall can last 20–30 years or more, depending on exposure, drainage, and climate. Rushed repairs, incompatible mortars, or neglected moisture issues may fail in as little as a few seasons, especially in regions with severe freeze-thaw cycles.
Can I patch bricks in winter or during cold weather?
Brick patching should ideally be done when temperatures stay above roughly 40°F (about 4°C) for at least 24–48 hours so mortar can cure properly. In colder months, professionals may use heated enclosures or insulating blankets, but DIY patches in freezing conditions often fail prematurely. If possible, schedule your project for a mild, dry stretch.
Is caulk enough to fix hairline cracks in my brick wall?
High-quality masonry or polyurethane caulk from a tube can be a short- to medium-term fix for small, non-structural hairline cracks that do not move much. If cracks are widening, repeating, or letting in noticeable water, full mortar repair or deeper structural evaluation is usually more appropriate than repeated caulking. Sealed cracks should still be monitored each season.
Will brick patching change the look of my wall?
Any patch is initially visible, but careful color and texture matching of brick mortar and brick faces can make repairs blend in over time as they weather. Suggest saving an original brick or mortar sample when possible so a pro or supplier can closely match existing materials and minimize visual differences. A smooth, well-tooled joint that matches the original profile will stand out far less than a mess of mismatched filler.
Do I have to replace a cracked brick, or can it be patched in place?
Shallow surface damage or small chips can often be rebuilt with a durable brick patching compound, while deeply cracked or severely spalled bricks usually need full replacement for strength and longevity. Consult a mason if multiple adjacent bricks are cracked or if damage appears in a repeating pattern, which may indicate a larger structural issue beyond simple patching.